![How to Install Any Claude Skill From GitHub [Step-by-step] - Beginner Tutorial](/_astro/How%20to%20Install%20Any%20Claude%20Skill%20From%20GitHub%20_Step-by-step_%20-%20Beginner%20Tutorial.Cgks_FcS_1swru6.webp)
.Bktem256_23EEnI.webp)
.rrgOIsSz_Z2n0to0.webp)
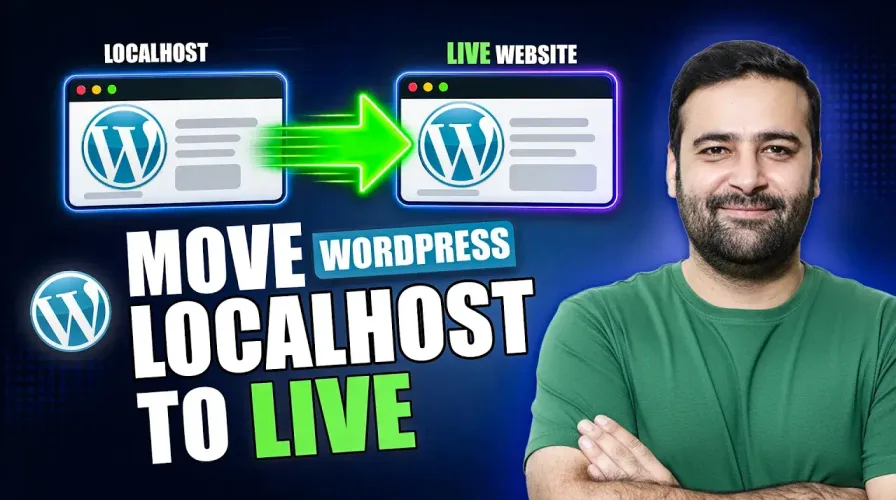
So you’ve built something great on localhost. Blog posts are in, images are uploaded, the theme looks sharp – and now it’s just… sitting there. On your laptop. Not live. Not real yet.
Good news: making it live doesn’t cost a dime, and it doesn’t take a dev team either. Just one plugin, a few clicks, and a little patience. Here’s exactly how I did it.
Step 1: Install the Migration Plugin (On Localhost)
Head to your localhost dashboard → Plugins → Add New, and search for All-in-One WP Migration. Install it, activate it, and you’re ready to roll.
(Quick detour: if you’re the kind of person who likes connecting AI tools to WordPress, look up Free WordPress MCP -it lets coding agents write posts, tweak SEO, and build WooCommerce products for you. Free, and staying free. Worth a look, not required for this tutorial.)
Step 2: Export Your Local Site
Inside the plugin, click Export → Export Site To → File. Give it a moment to package everything up – themes, plugins, posts, images, the whole package. Mine came out to 138MB. Download it once it’s ready.
Step 3: Install the Same Plugin on Your Live Site
Log into your live website’s dashboard, install All-in-One WP Migration there too, and activate it. Same plugin, different destination.
Step 4: Import – and Meet Your First Obstacle
Click Import → Import From → File, select the file you downloaded, and… there it is. The classic wall:
“Your file exceeds the 8MB upload limit.”
The plugin will nudge you toward its paid “Unlimited Extension.” But we’re doing this for free – so let’s fix it ourselves.
Step 5: Raise the Upload Limit (No Paid Plugin Needed)
You’ve got options here:
- Apache server? Add a snippet of code to your
.htaccessfile. - Nginx or other? Use a
user.inifile instead. - Neither working? Go straight to the source – your hosting’s PHP settings.
For me, that meant heading into cPanel → Multi PHP INI Editor, selecting my live domain, and bumping up two values:
post_max_size→ 150Mupload_max_filesize→ 150M
Hit apply, refresh your import page, and watch that 8MB limit magically become 150MB.
Step 6: Import for Real This Time
Back to Import → File, upload the same export, and let it work its magic. Depending on your internet speed, this takes a few minutes.
Step 7: The PHP Version Heads-Up
Right before finishing, you might see a compatibility notice – especially if your localhost and live server are running different PHP versions (mine were 8.2 vs 8.3). Small gaps are usually fine. But jumping from something like PHP 7.4 to 8.3? That’s when things can break. Proceed carefully, and always back up first.
Click Proceed, then Finish.
Step 8: See It Go Live
Refresh your live website and… there it is. Your blog posts, your images, your title – all showing up like they were always meant to be there.
Head to your dashboard and log in using your localhost username and password – they carry over automatically. If it logs you in, congratulations: your site is officially live.
That’s It – You Just Launched a Website for Free
No premium plugins. No developer fees. Just a solid export, a smart workaround, and a few PHP tweaks. Your local project just became a real, living website.
Got stuck somewhere in the process? Drop a comment – happy to help you troubleshoot.