![How to Install Any Claude Skill From GitHub [Step-by-step] - Beginner Tutorial](/_astro/How%20to%20Install%20Any%20Claude%20Skill%20From%20GitHub%20_Step-by-step_%20-%20Beginner%20Tutorial.Cgks_FcS_1swru6.webp)
.Bktem256_23EEnI.webp)
.rrgOIsSz_Z2n0to0.webp)
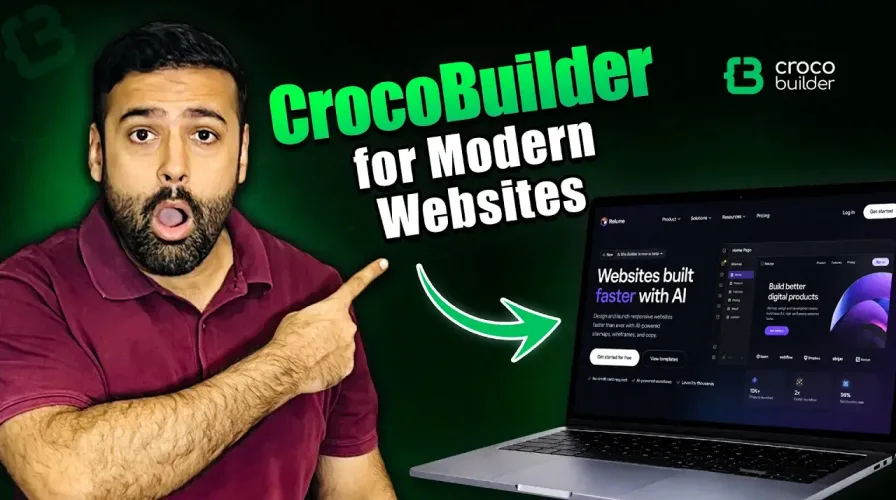
Tired of AI website builders that give you a pile of bloated HTML and then charge you more tokens every time you want to move a button? There’s a better way – and it’s called CrocoBuilder.
CrocoBuilder is a new AI-native WordPress page builder that lets you generate layouts with a single prompt, then freely drag, drop, and edit them like any normal builder – no re-prompting, no wasted tokens, no messy code.
Why CrocoBuilder Is Different
Most AI website builders work the same way: you give a prompt, they hand you raw HTML. Want to change something later? You’re back to prompting the AI again – burning tokens just to move a heading.
CrocoBuilder flips that. Every element it generates is a single, clean DOM element – no extra divs, no bloated code, and better signals for Google’s SEO bots. Once your layout is built, you edit it visually, the same way you’d use Elementor – except the initial layout was created by AI in seconds.
Step 1: Explore the builder interface
Open CrocoBuilder in WordPress. On the left, you’ll find your elements panel; on the right, an element tree showing your page structure – clean and easy to navigate.
Step 2: Connect your AI Assistant
Go to Settings → Connector, install the OpenAI connector, and paste in your API key (generate one free at platform.openai.com). This links CrocoBuilder’s AI Assistant to OpenAI’s models.
Step 3: Import a design system
Under Tools → Import Design System, upload a BEM-based CSS file (you can generate one instantly with Gemini or any AI tool). This gives you reusable classes and variables – similar to Tailwind – so you’re not rebuilding styles from scratch every time.
Step 4: Build reusable components with AI
Head to Tools → Component Builder, create a new component, and simply prompt the AI – like “create a FAQ component for my plumbing website.” It generates the full HTML, CSS, and JavaScript automatically, ready to drop onto any page.
Step 5: Generate a full page using Claude
Prefer coding agents? Prompt Claude directly with something like “Create a layout in Croco MCP for a plumbing website.” You’ll get a complete, editable CrocoBuilder page – not locked HTML – that you can still drag, drop, and adjust afterward.
Step 6: Connect Claude Code via MCP server
Install Node.js, enable the MCP server under Croco Builder → Dashboard → AI MCP, generate a token, and add the following config to Claude Code’s settings (Settings → Developer → Edit Config). Replace the URL and token with your own site’s details:
{
  "mcpServers": {
    "croco": {
      "command": "npx",
      "args": [
        "mcp-remote",
        "https://your-website-url.com/wp-json/crocoblocks/v1/mcp",
        "--header", "Authorization: Bearer your-token"
      ]
    }
  }
}
Once saved, restart Claude Code, and you’ll see the Croco MCP server connected under Settings → Developer. Now you can build entire WordPress pages straight from your coding agent – no need to log into WordPress at all.
Step 7: Add dynamic content with Curie Builder Use Tools → Curie Builder to create dynamic loops – like a “latest posts” feed. Map elements (image, title, link) to dynamic content fields, and your section will automatically update every time you publish a new post.
Step 8: Set visibility conditions (optional) Want a section to show only on mobile, or only for logged-in users? Use the built-in Display Condition options to control visibility without extra plugins.
Final Thoughts
CrocoBuilder brings together the best of both worlds – AI speed and native drag-and-drop control – without the endless prompt loop or bloated code most AI builders leave behind. Whether you’re a developer, an agency, or just someone who wants a faster WordPress workflow, it’s worth trying.
Want the full visual walkthrough? Watch the video tutorial for a complete screen-by-screen demo.