![How to Install Any Claude Skill From GitHub [Step-by-step] - Beginner Tutorial](/_astro/How%20to%20Install%20Any%20Claude%20Skill%20From%20GitHub%20_Step-by-step_%20-%20Beginner%20Tutorial.Cgks_FcS_1swru6.webp)
.Bktem256_23EEnI.webp)
.rrgOIsSz_Z2n0to0.webp)
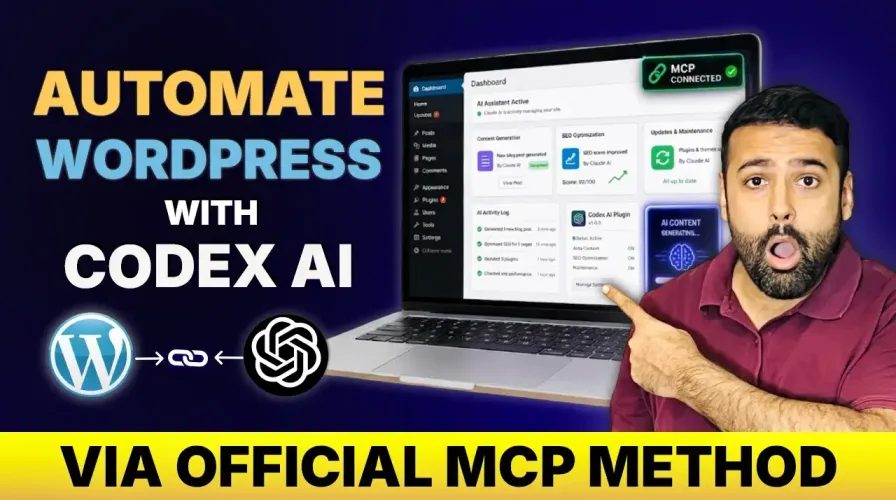
Are you tired of spending hours creating blog posts and managing content? Meet Codex, a free AI coding agent that can transform your WordPress workflow. In this guide, I’ll show you exactly how to connect Codex with WordPress using MCP (Model Context Protocol) to automate content creation and SEO optimization.
What is Codex? Why You Need It
Codex is a powerful AI coding agent that rivals Claude but comes with a significant advantage: it’s completely free to start. Unlike Claude, which requires a minimum $20/month investment, Codex offers unlimited potential for WordPress automation at no cost.
Here’s what Codex can do for your WordPress site:
- Create blog posts automatically
- Optimize SEO (meta titles, descriptions, headers)
- Generate new pages and layouts
- Analyze existing content
- Improve search engine rankings
- Save hours of manual work
What You’ll Need to Get Started
Before diving in, gather these essentials:
- WordPress website (self-hosted recommended)
- Codex app (download from codex.ai)
- Administrator access to your WordPress dashboard
- Two plugins (detailed below)
Step 1: Install the MCP Adapter Plugin
The MCP Adapter is the foundation of your Codex-WordPress connection.
Installation Process:
- Download the latest release from GitHub: MCP Adapter Plugin
- Go to your WordPress dashboard → Plugins → Add Plugin
- Click “Upload Plugin” and select the downloaded ZIP file
- Click “Install Now” and then “Activate”
What it does: This plugin enables the Model Context Protocol, allowing external AI agents like Codex to communicate with your WordPress installation.
Step 2: Install the WordPress MCP Plugin
Now you need the ability management plugin to control what your AI agent can access.
Installation Process:
- Download from: WordPress MCP Plugin
- Upload and activate this plugin following the same process as Step 1
- Look for the new “Settings” menu item in your WordPress sidebar
Step 3: Configure AI Permissions
This is crucial—you control exactly what Codex can and cannot do.
Setting Permissions:
- Go to WordPress Settings → Config Files
- Toggle on/off abilities for:
- Posts (read/create)
- Pages
- Taxonomies
- Comments
- Media
- Users
- Search
Pro Tip: Start by enabling only “read” permissions for posts to test the connection safely. You can expand permissions later.
Step 4: Create an Application Password
Codex needs secure authentication to access your WordPress site.
How to Generate:
- Navigate to WordPress → Users → All Users
- Click “Edit” on your administrator account
- Scroll down and click “Add New Application Password”
- Name it (e.g., “Codex Connection”)
- Copy the generated password—treat it like your WordPress password and keep it secure
Step 5: Configure Codex Settings
Now connect Codex to your WordPress installation.
Configuration Steps:
- Open your Codex app
- Go to Settings → Click configuration icon
- Select “Open config.toml file”
- Return to WordPress → Settings → Config Files → Click “Codex”
- Click “Copy to Clipboard”
- Paste this configuration at the bottom of your config.toml file
- Replace the placeholder with your application password
- Save the file
Important: Close and restart Codex after making these changes.
Step 6: Verify the Connection
Confirm everything is working properly.
Verification:
- Reopen Codex
- Go to Settings → MCP Server
- You should see your WordPress server listed
If it appears, congratulations! Your connection is active and ready to use.
Live Demo: Creating Your First AI-Generated Blog Post
Here’s how simple it is to use Codex once everything is set up:
- Open Codex and start a new chat
- Type: “Create a new blog post about how to rank in Bing in 2026”
- Codex automatically:
- Recognizes your WordPress connection
- Requests necessary permissions
- Generates SEO-optimized content
- Posts it directly to your WordPress site
The result? A fully formatted, SEO-friendly blog post in minutes without leaving your chat interface.
Codex vs. Claude: Pricing Breakdown
Feature
Codex
Claude
Free Tier
Yes, unlimited
No
Starting Price
$8/month
$20/month
WordPress Integration
Built-in with MCP
Limited
AI Quality
Good
Excellent
Best For
Budget-conscious creators
Professional use
Unlock Your WordPress Potential
Connecting Codex with WordPress transforms content creation from a time-consuming chore into an automated process. Whether you’re a blogger, digital marketer, or agency owner, this setup saves hours every week.
Ready to get started?
Download the plugins and follow the steps above. In less than 15 minutes, you’ll have an AI-powered content creator working on your WordPress site.
Download the Plugins:
Next Steps
- Test with simple read permissions first
- Gradually expand capabilities as you gain confidence
- Experiment with different content types (blogs, pages, SEO optimization)
- Explore Codex’s premium features when ready
Have questions about setting up Codex with WordPress? Drop a comment below, and I’ll help you get started!
- Codex WordPress
- content automation
- free AI tools
- MCP Protocol
- SEO optimization
- WordPress automation
- WordPress plugin