![How to Install Any Claude Skill From GitHub [Step-by-step] - Beginner Tutorial](/_astro/How%20to%20Install%20Any%20Claude%20Skill%20From%20GitHub%20_Step-by-step_%20-%20Beginner%20Tutorial.Cgks_FcS_1swru6.webp)
.Bktem256_23EEnI.webp)
.rrgOIsSz_Z2n0to0.webp)

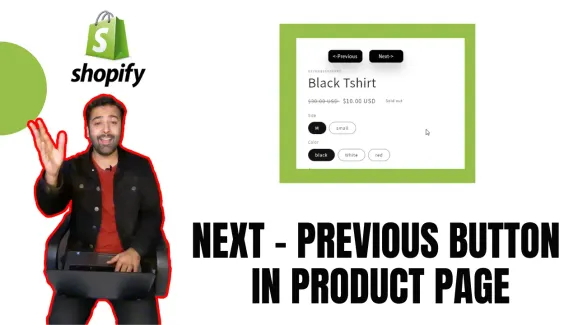
Adding a “Next” and “Previous” button to your product pages can be a great way to keep customers engaged with your products. This video shows you how to add these buttons using the Dawn Theme for Shopify. Adding a Next Previous button to the product page of your Shopify store is a great way to make it easier for customers to browse through your products. I will show you how to add this button using the Dawn theme in this video.
Add this code in main-product.liquid file:

{%- liquid
    assign previous_product = collection.previous_product
    assign next_product = collection.next_product
    if previous_product or next_product
    else
    	assign collectionList = product.collections[0].handle
        assign previous_product = nil
        assign next_product = nil
        assign last = collections[collectionList].products_count
        for p in collections[collectionList].products
        	if p.handle == product.handle
            	assign prev = forloop.index | minus: 2
                assign next = forloop.index
                if prev >= 0
                  assign previous_product = collections[collectionList].products[prev].handle
                endif
                if last >= next
                  assign next_product = collections[collectionList].products[next].handle
                endif
                break
            endif
        endfor
    endif
-%}

<div id="nextpre">
    		{%- if previous_product -%}
            <a class="next-prev-icon prev-icon" href="{{ previous_product }}">
               Previous
            </a>
        {%- endif -%}
        {%- if next_product -%}
            <a class="next-prev-icon next-icon" href="{{ next_product }}">
               Next
            </a>
        {%- endif -%}
    </div>
Add CSS in the base.css file :
#nextpre{
    display: flex;
    justify-content: flex-end;
    margin-right: 6%;
}
.next-prev-icon{
        margin: 0 0 20px 20px;
    padding: 5px 10px;
    font-weight: 500;
    color: #fff;
    box-shadow: #0003 0 20px 30px;
    background-color: #000;
    border-radius: 10px;
    text-decoration: unset;
    width: 100px;
    text-align: center;
    font-size: 15px;
}
4.1/5 · 63 votes